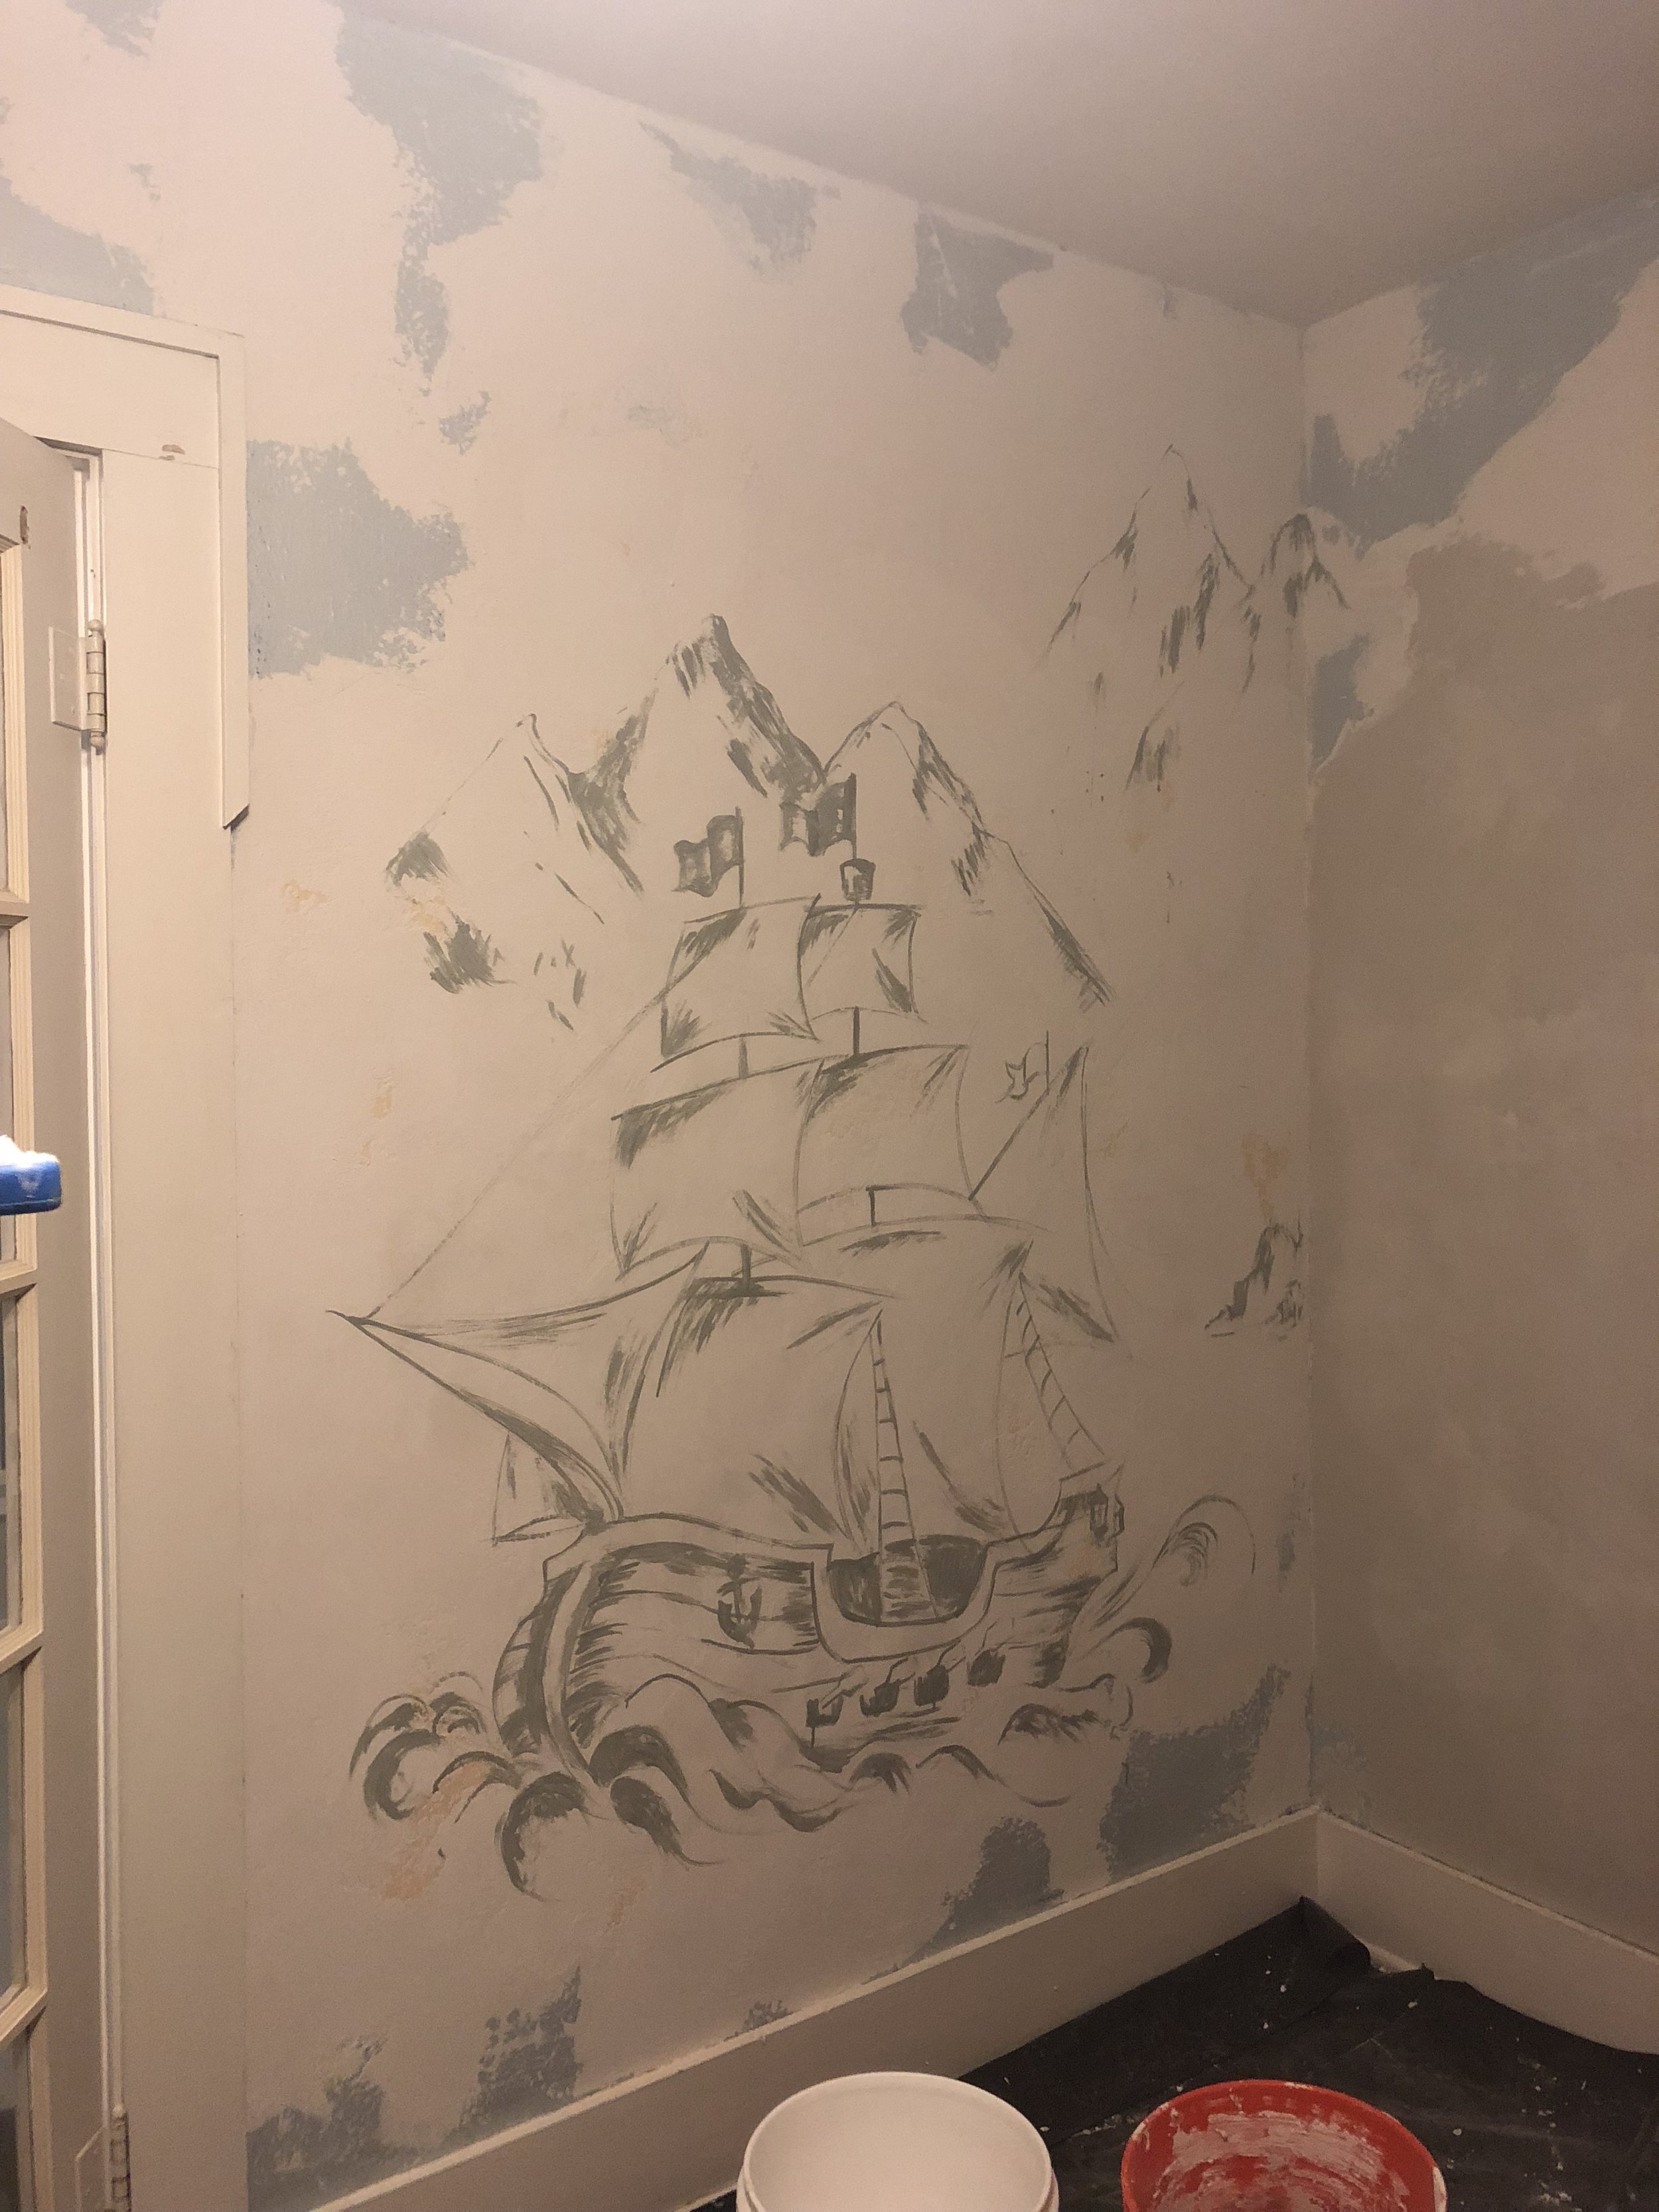
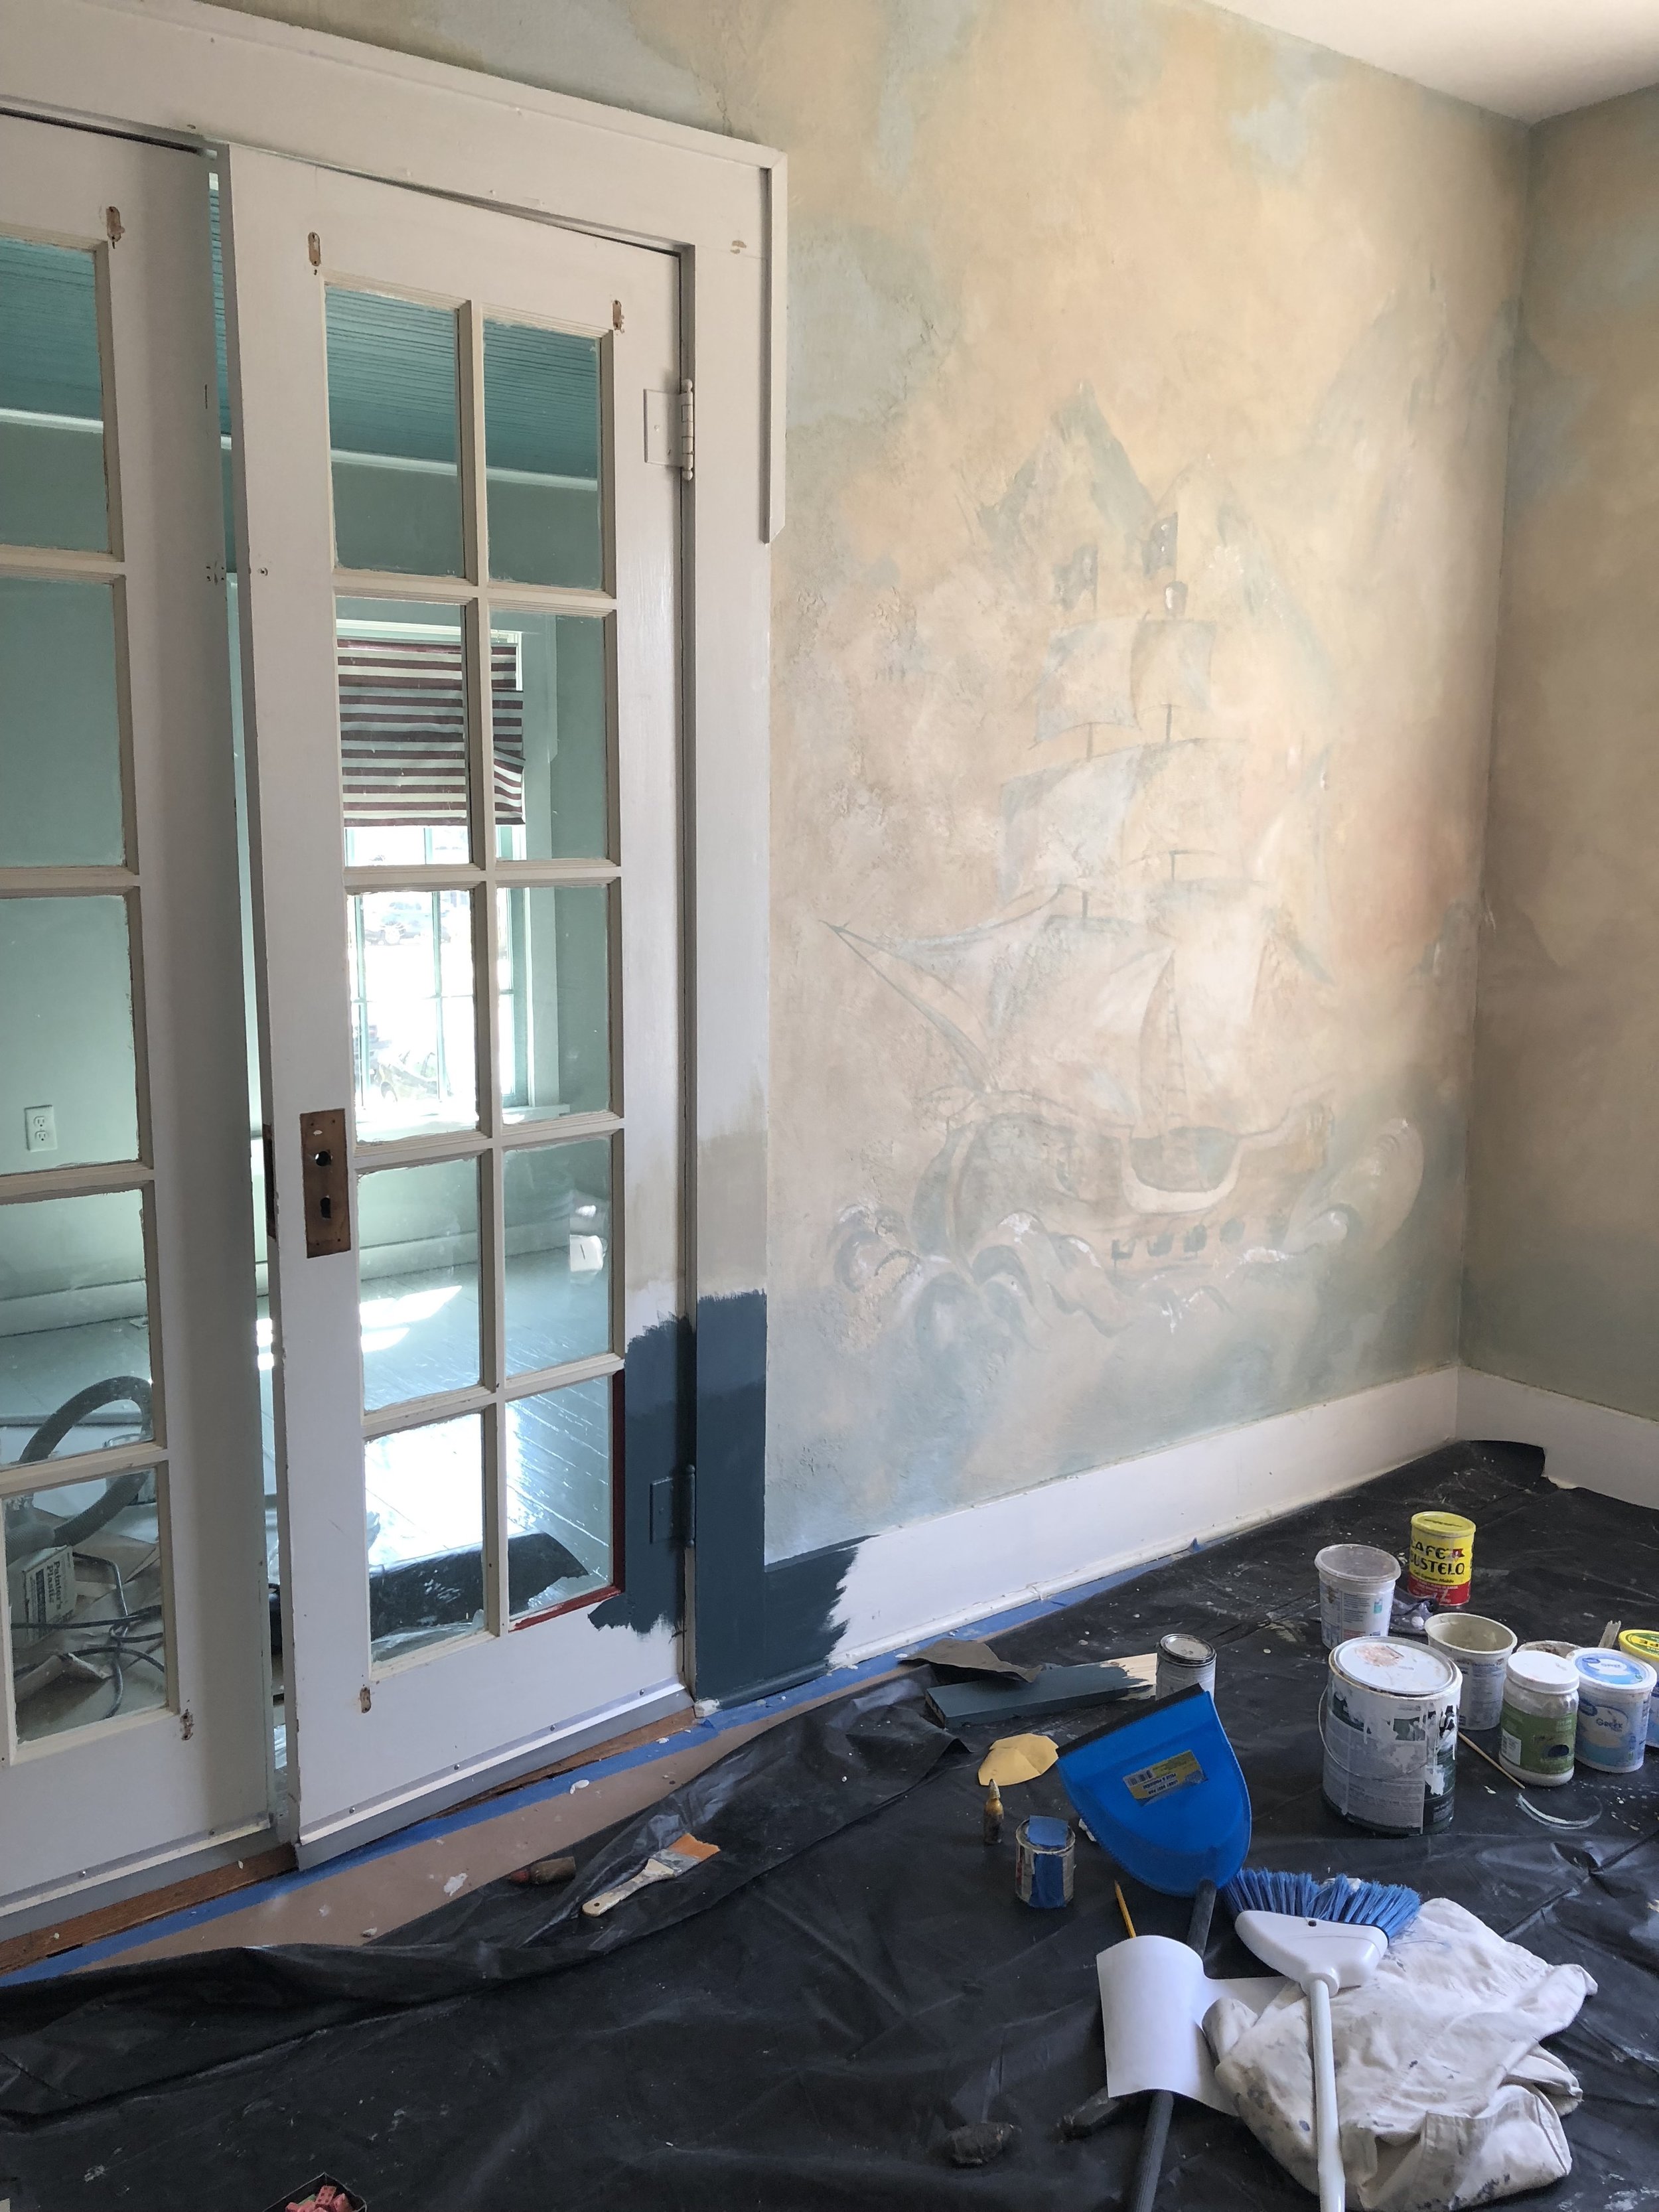
So I had this "if you build it, they will come" vision for this boys room and playroom. They needed to have a place to go to where they could dream. And just as important was that it had a place for all of their things; so that they were not spread throughout the house anymore! I know it is a trope, but it truly is torture to step on legos strewn across one's living room floor. So, the older boy is an untidy dreamer, and the bedroom is mostly for him. He loves pirate ships, rocket ships, hot air balloons, and movies, especially Iron Giant! We have a lathe and plaster house to deal with, so crack lines form over time, and if you want to properly repair them you need to drill holes every inch along each crack line and use some washers screws and industrial adhesive to reattach it. This is a long hard process that would require an entire blog in and of itself, but long story short we knew we would have to resurface/replaster the whole room once these repairs were made. Here is a mid process shot:
Before
And here is the after shot of the boys room mural!
After
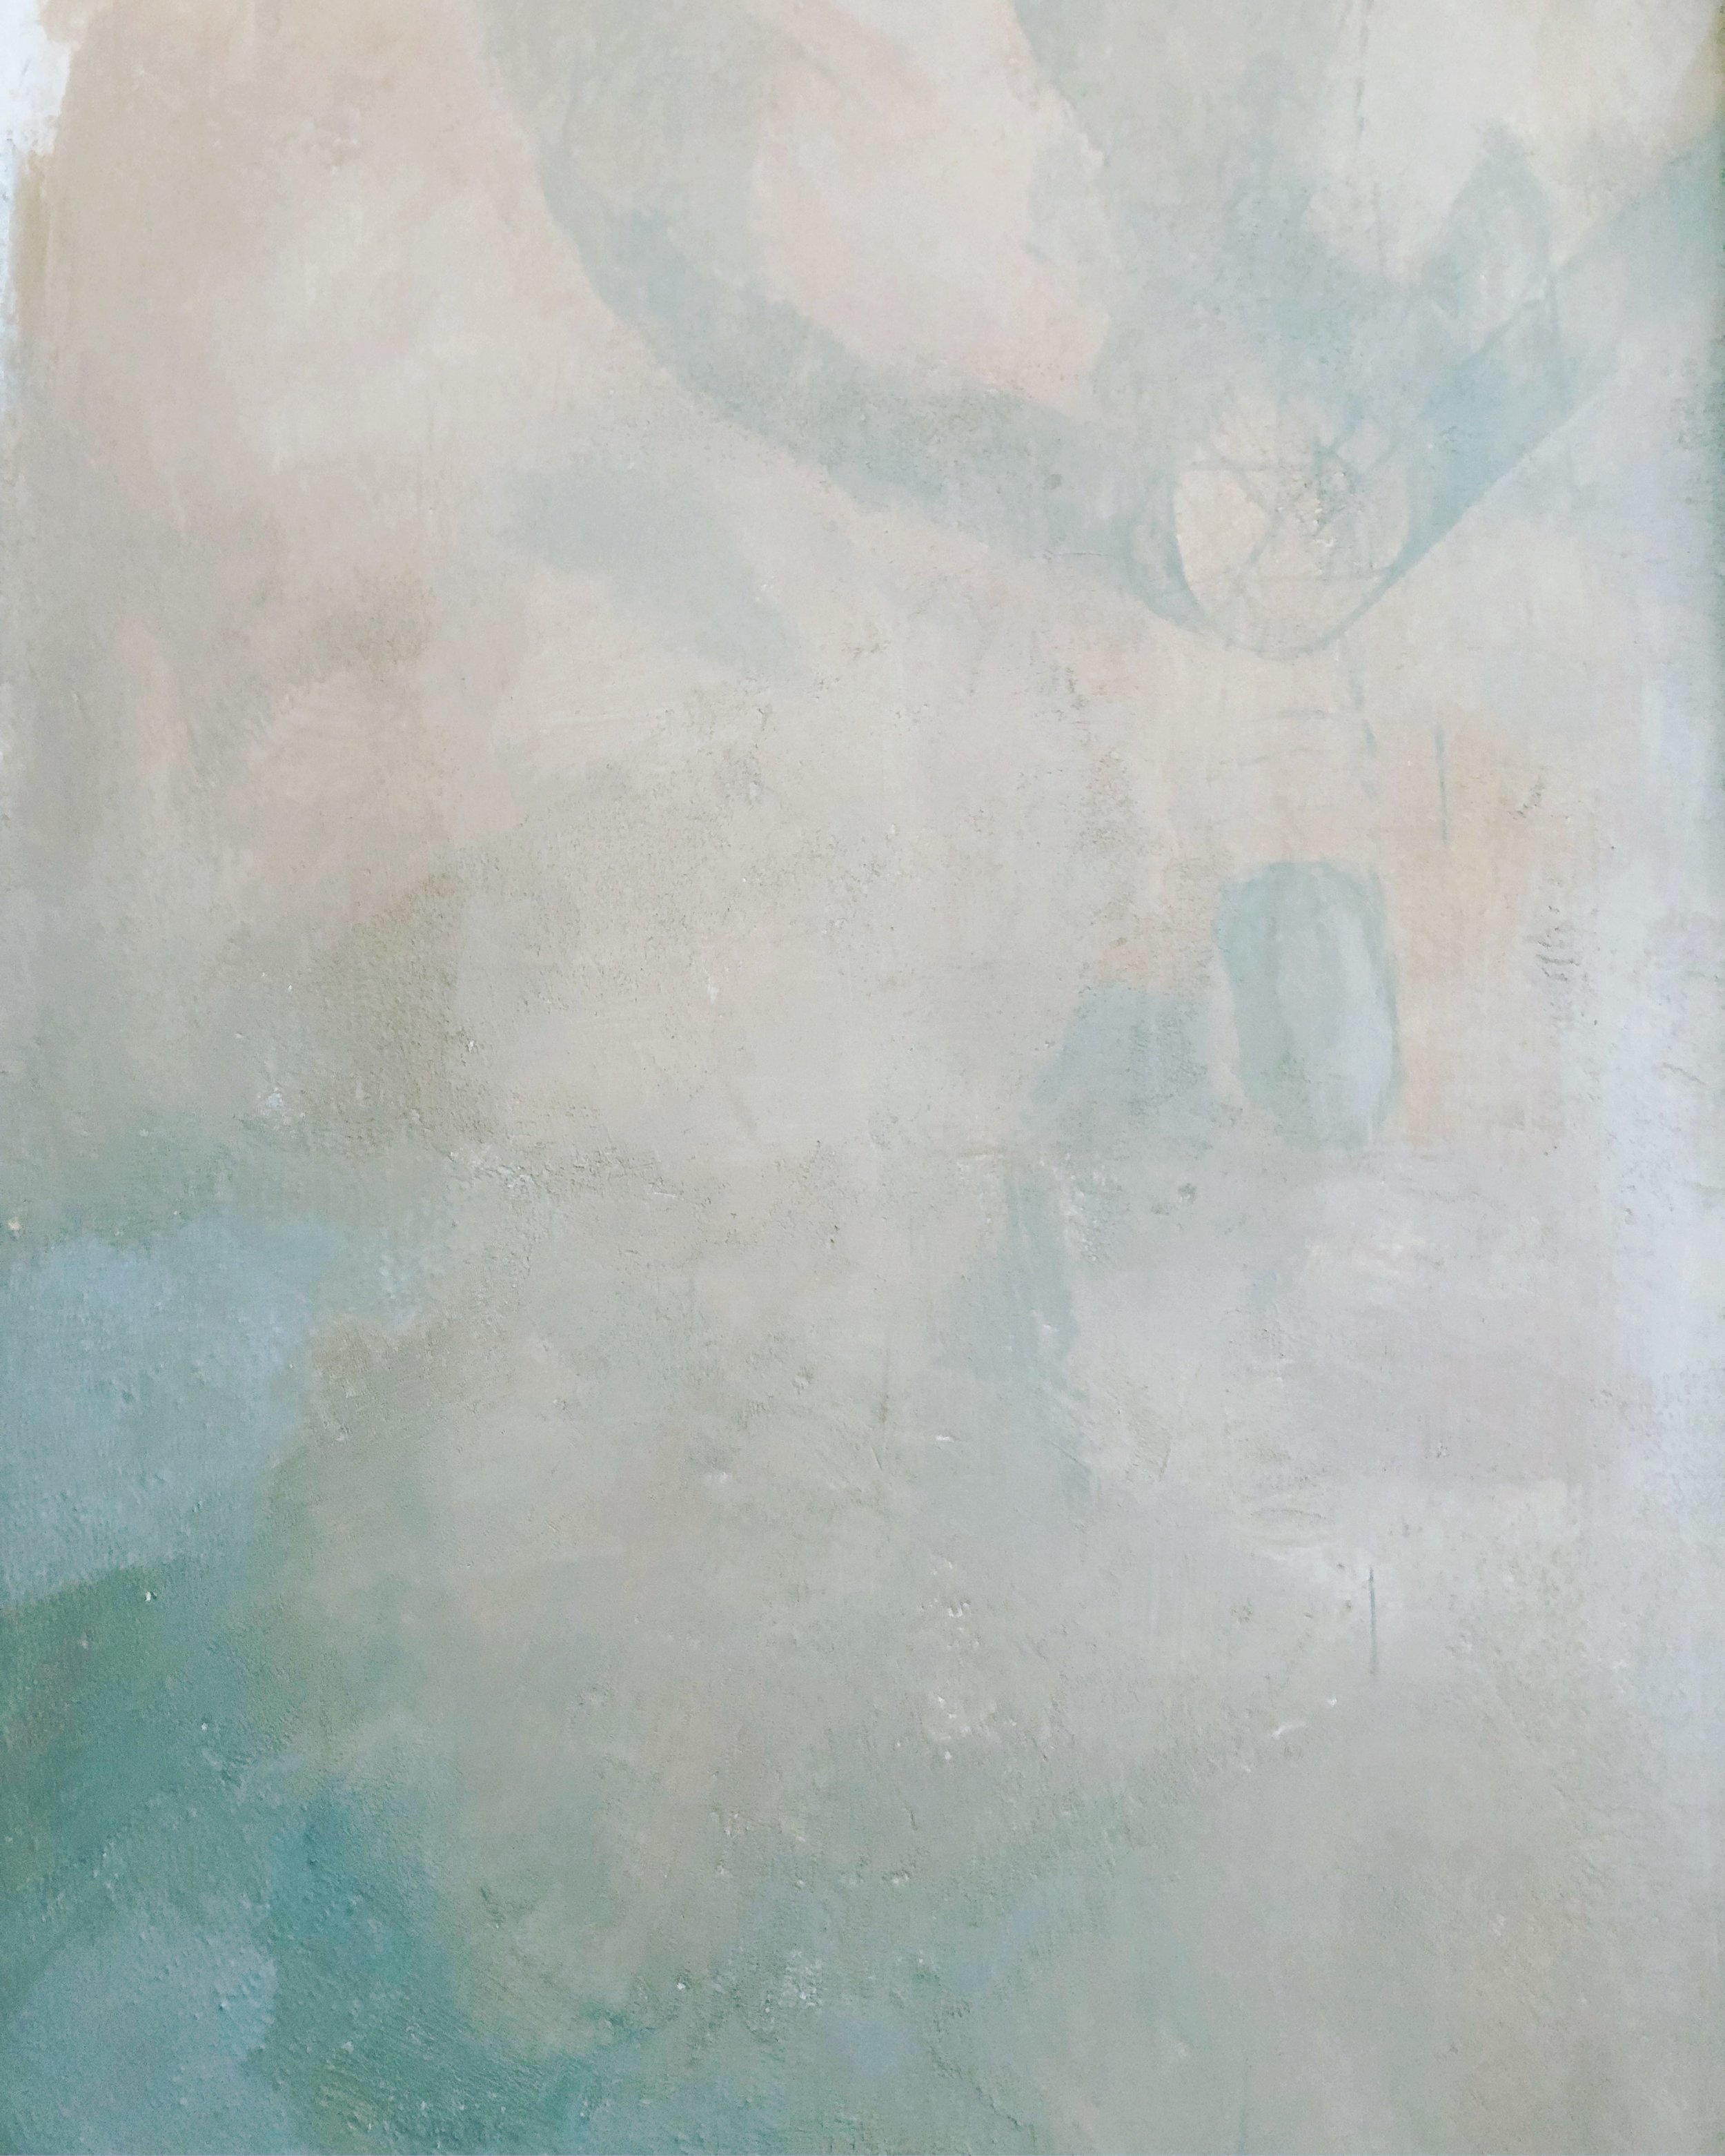
So a great deal of the inspiration for the mural, which ended up having a dreamy cloud and map like effect, was in fact the destructive process of removing the old loose paint and plaster. The inspiration for the palette of the bedroom came from a family heirloom, a hand painted and carved bed made by the boys grandmother. The plaster we used is actually a base plaster, so it is quite rough, and has little flecks of reflective sand in it here and there. The glaze was mostly translucent, with just a faint bit of paint in it, for another room in the house we used this plaster with only a bit of dirt mixed into a translucent glaze. The painting for the mural was done before the glazing, so that it became very soft and neutral as layers were added over the imagery. In some places we even sanded back through the mural to let the white of the underneath plaster work within the imagery.
Below is an image showing the plastering and underpainting
underpainting
.
Below is a close up of the texture with distressing
close up of mural distressing
Below is the Iron Giant wall before furniture was moved back in
Below is a picture of the sweet little rocket ship wall!
Below is the beautiful hand painted bed which inspire the palette
Painted Bed, Palette Inspiration
Now on to the playroom!!
We decided to try something different for the window treatments in both rooms, and the red mullion color was chosen to help tie in with the red stripe window treatment. The simple stripe pattern is reminiscent of a pirate mate's shirt, and a circus tent, so both great associations for a boy's space. A clever hack was used to avoid cords and complicated mechanical systems, buttons, magnetic purse buttons to be exact. They were sewn on at intervals on a clean rectangular light blocking backed panel. They snap up easily because the magnets are drawn to each other. So below you can see our super awesome window treatment hack!
Window Treatments: Roman Shade Hack!
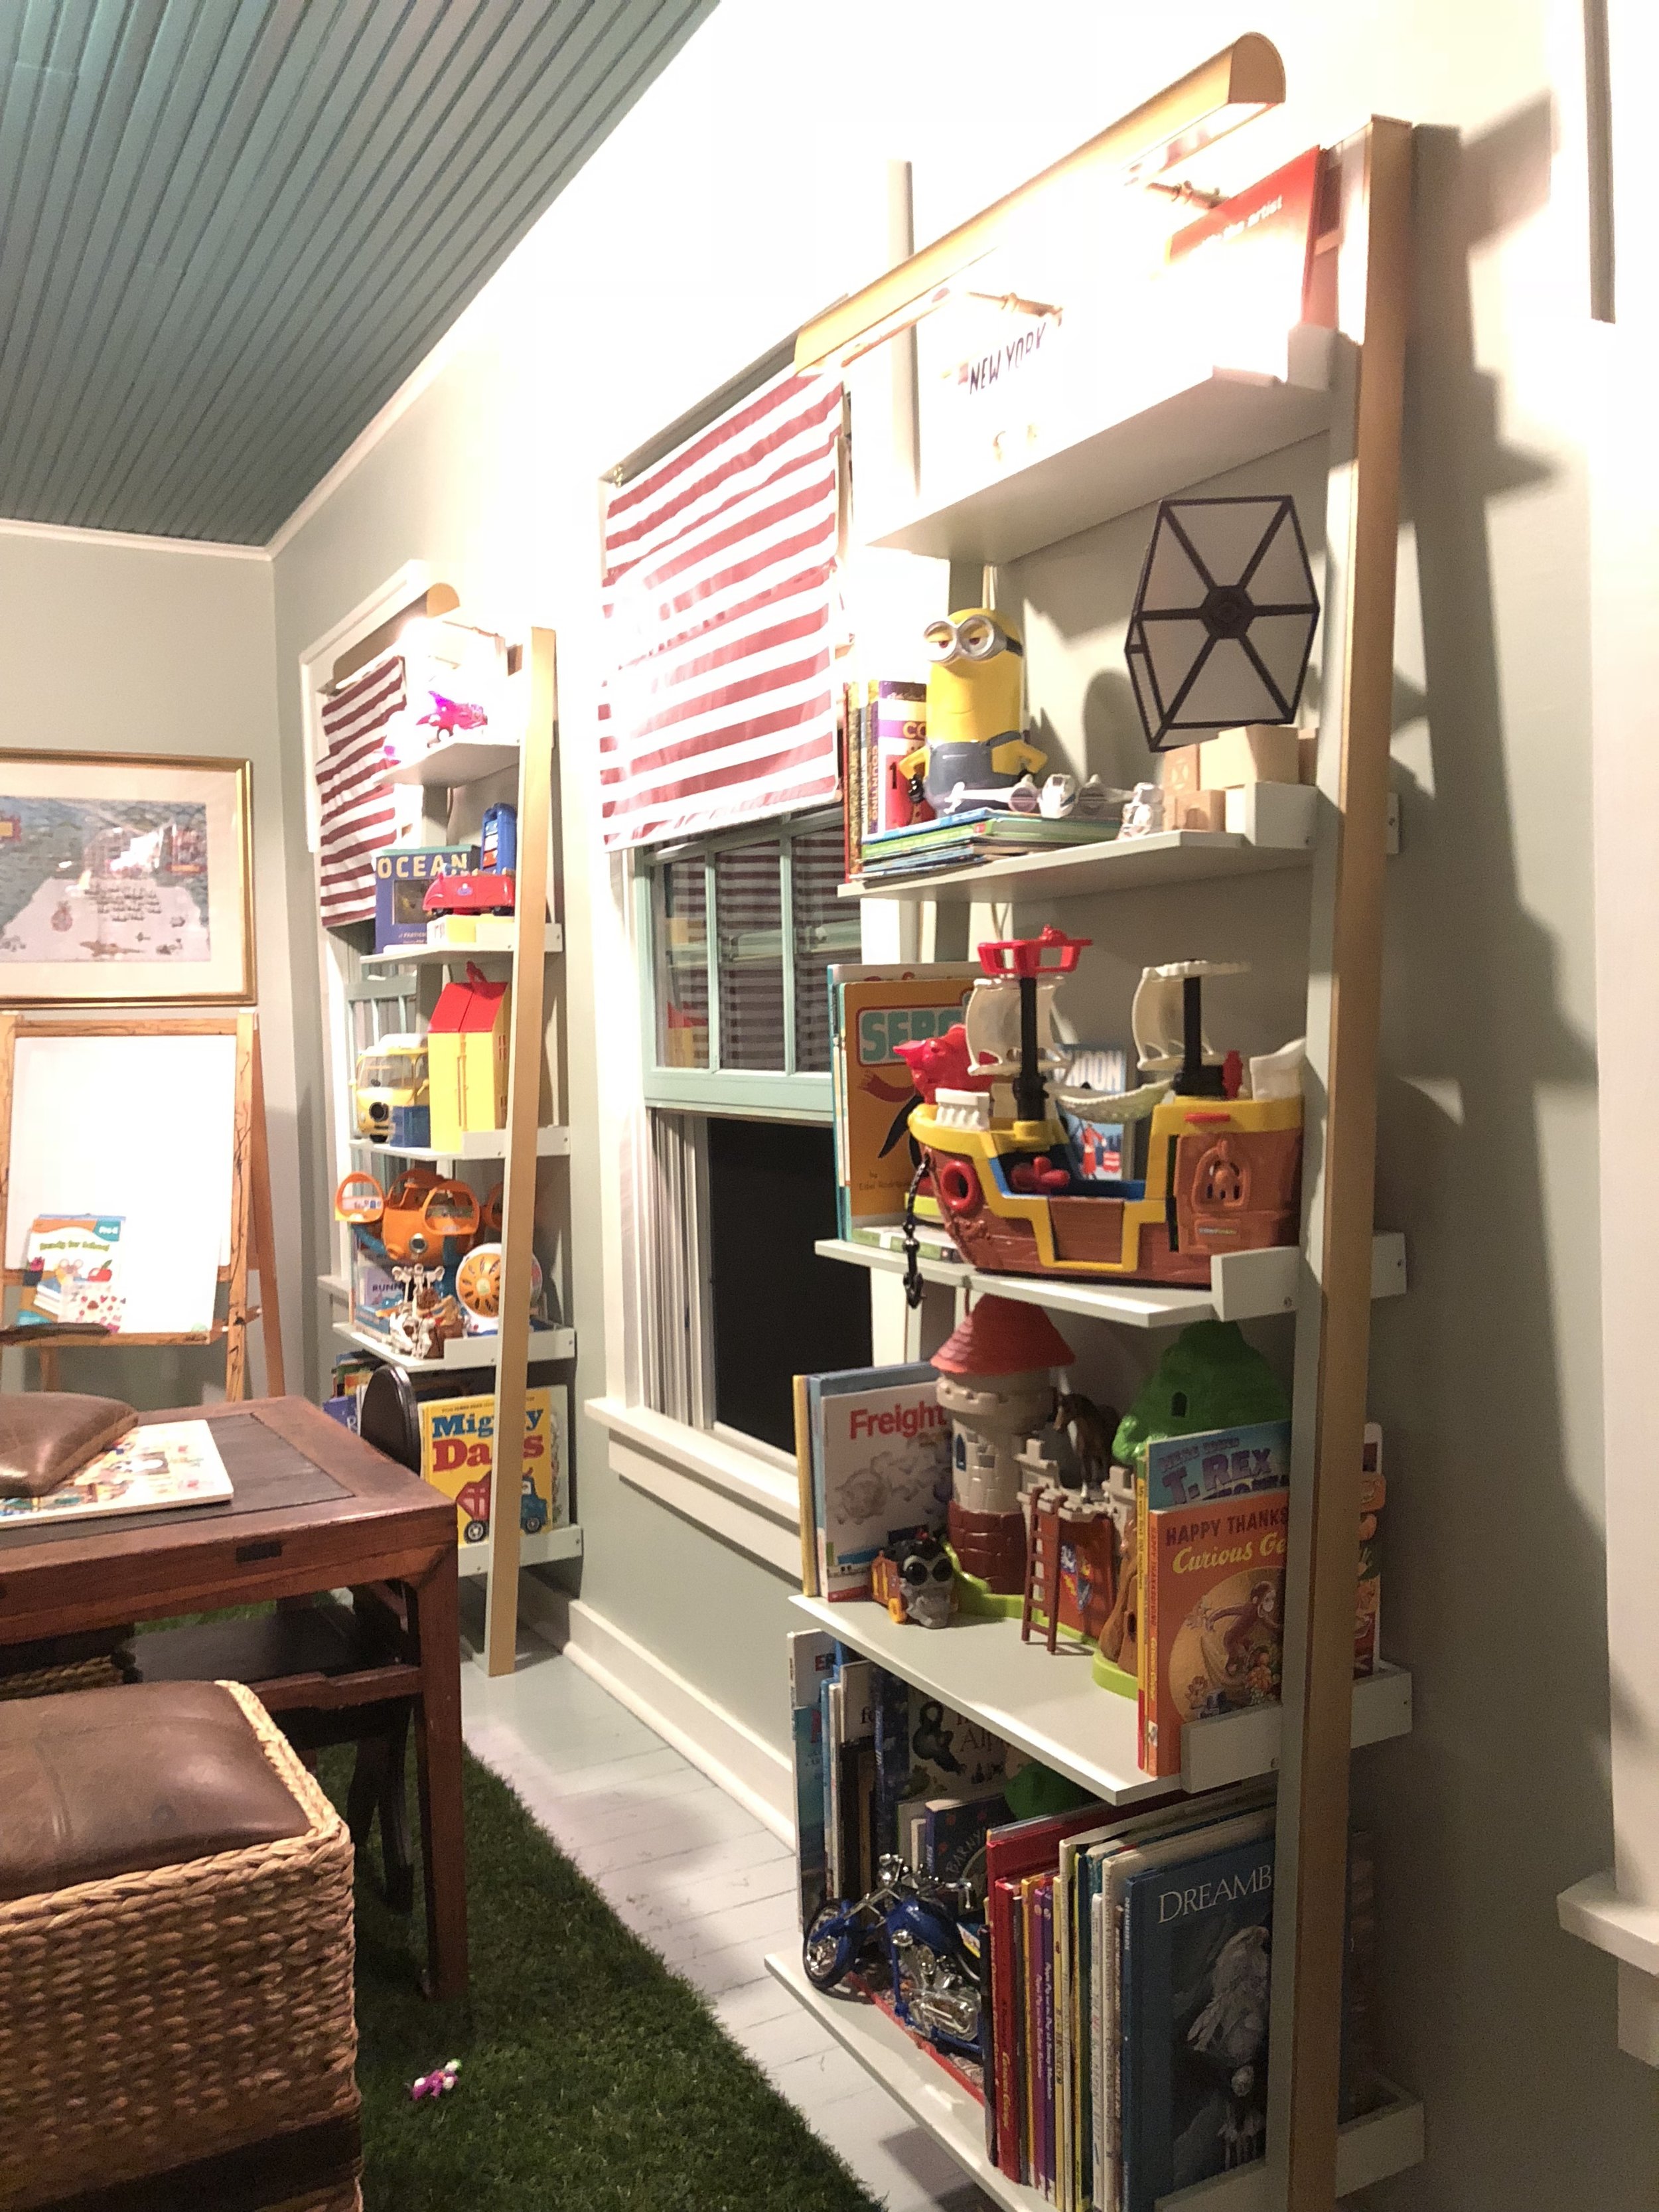
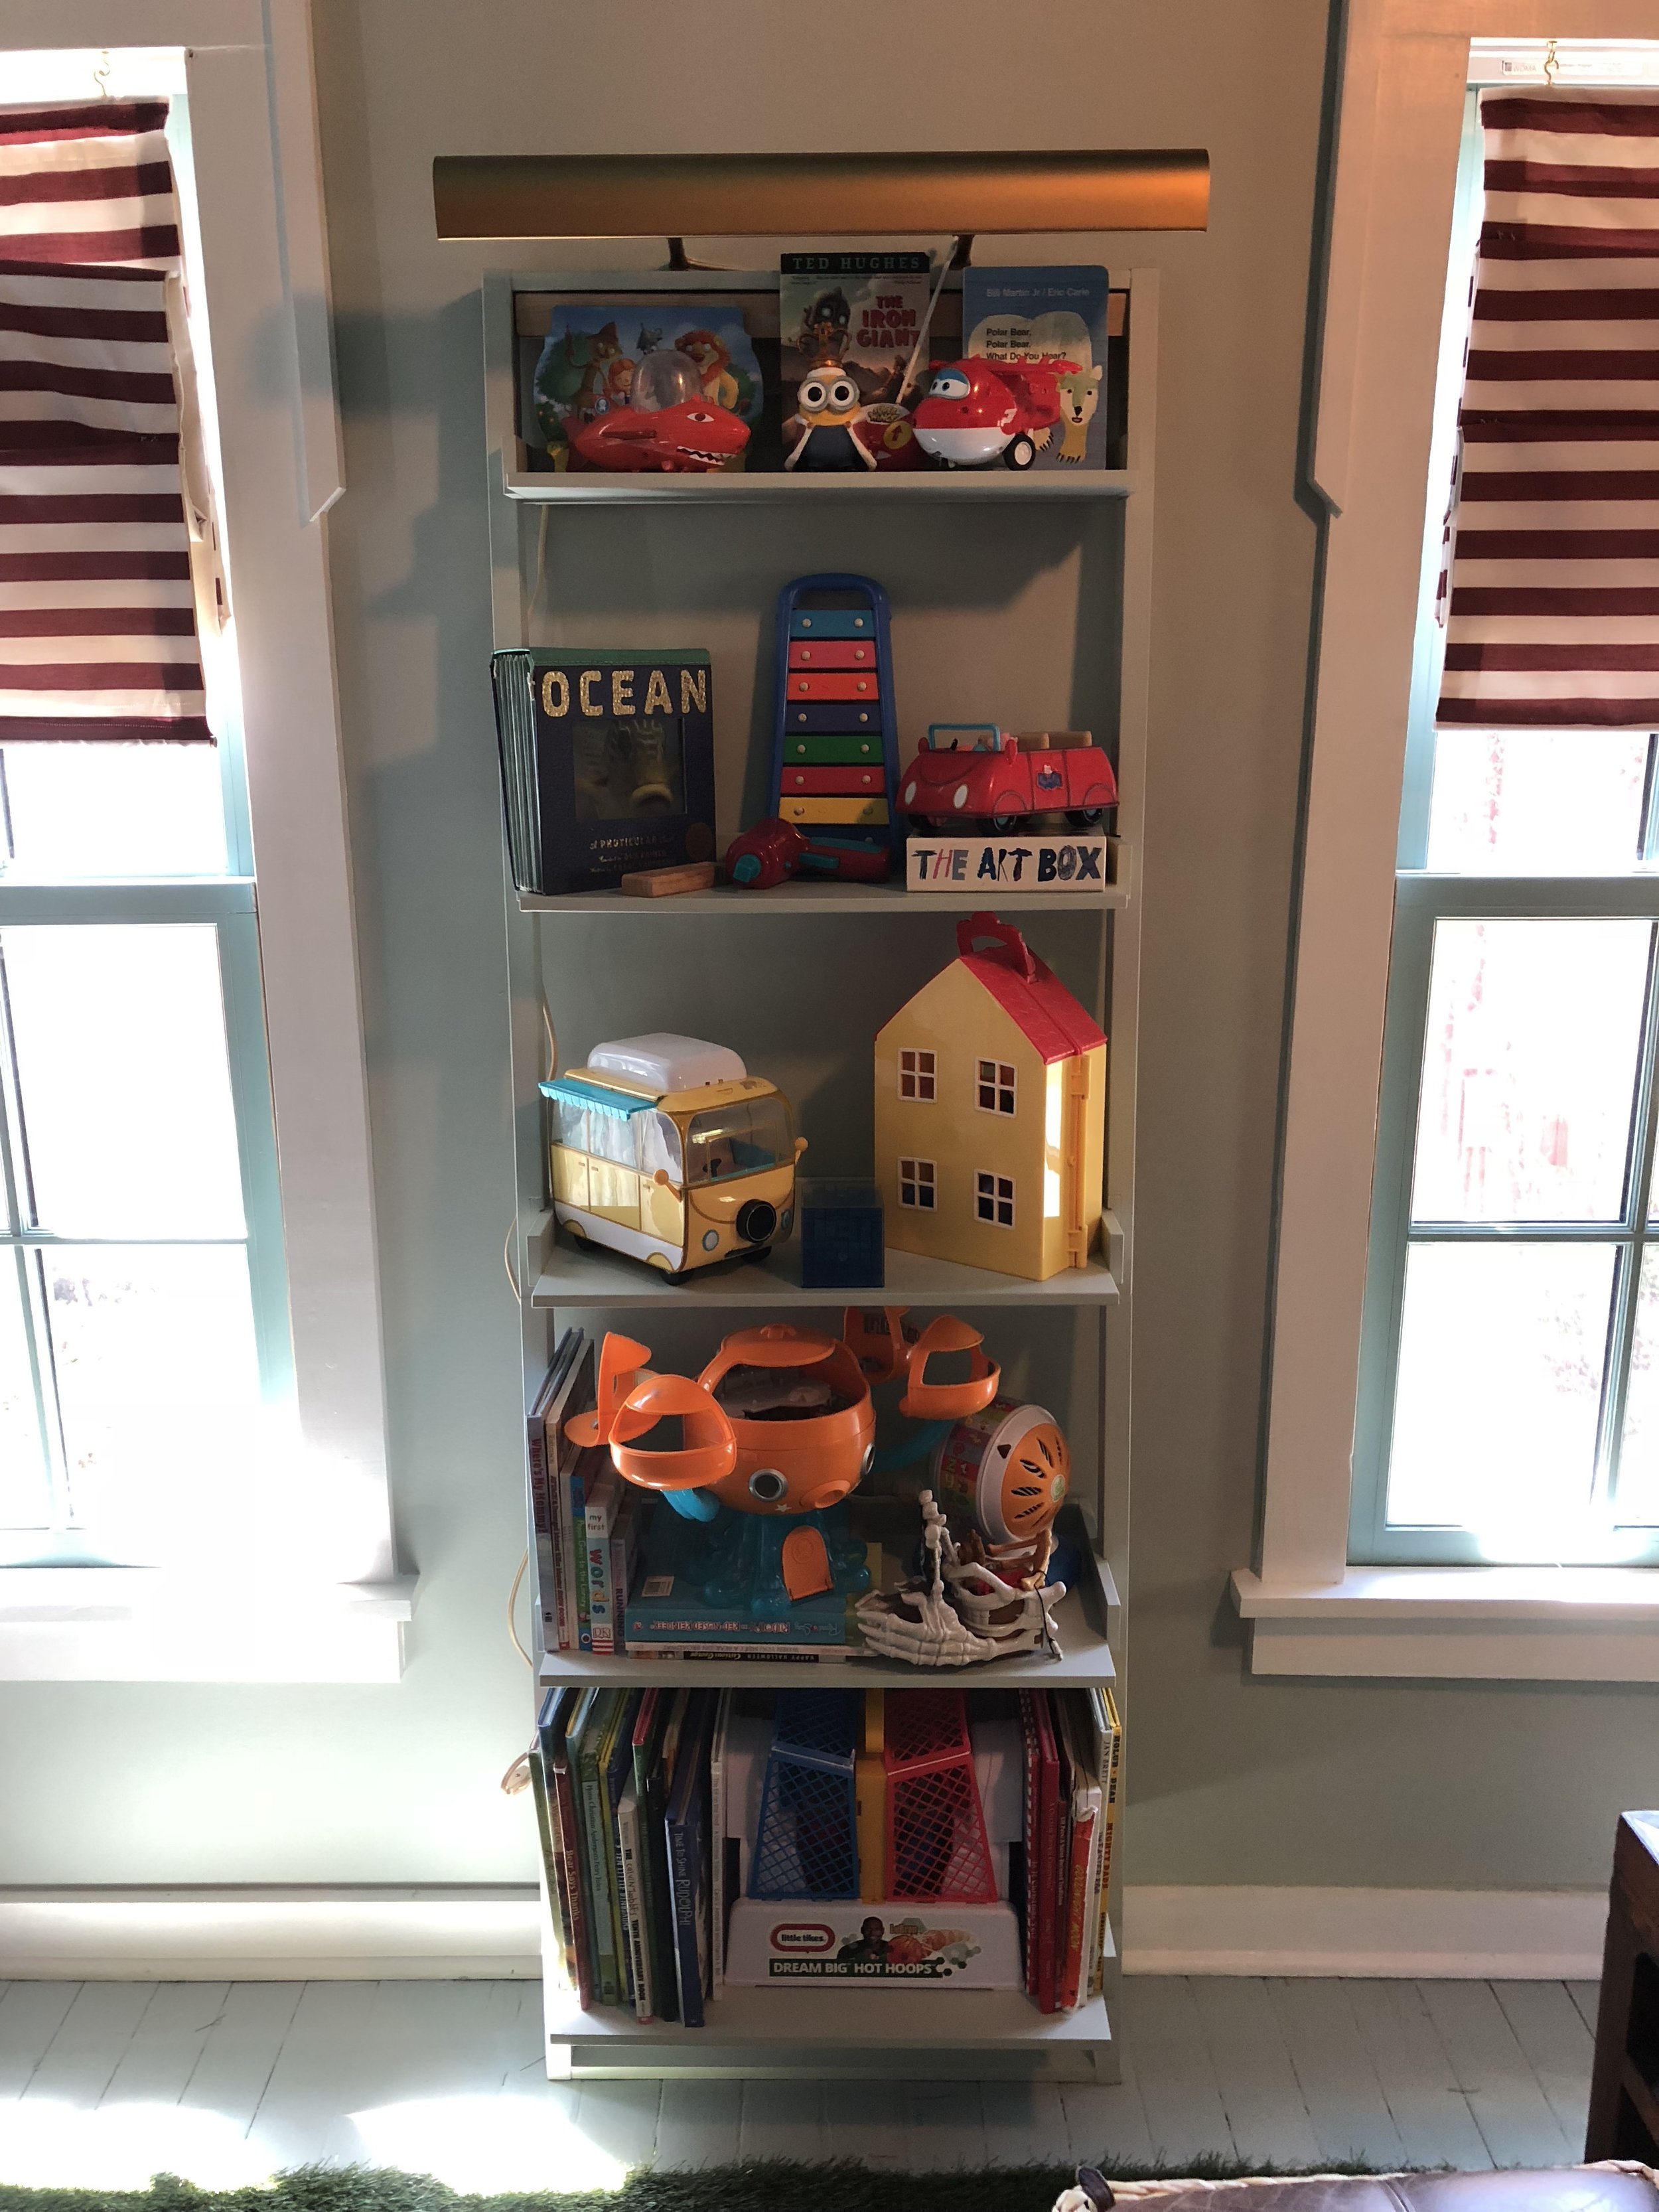
So we needed storage, and those cheap step ladder shelves that every big box store sells were the perfect size for between the windows, and had a super deep lower shelf for those giant kids books, but we hated the design of them. So we found some for super cheap second hand, and decided to transform them. We painted them the wall color, then wrapped them with gold framing strips that we used for framing artwork. Artwork lamps were added to the tops, Et voila! Nothing cheap about the setup, and they are super useful!
Playroom Style Inspiration: Picnic in the Garden
So we had a specific inspiration when designing this room, a picnic in the garden! We decided to do the astroturf rug before anything else, it just screams run and play on me. A chill side effect now that it is done is that even I have a desire to hang out in there because the stripes and grass give it a relaxed cabana vibe. A giant garden painting was integrated into the designs as well. A good friend bought us the awesome banana leaf storage seats and they are the finishing touch, giving the room a picnic feel. The table in the center of the room is a three hundred year old buddhist prayer table, doesn't exactly scream kids room to most people, but it is the sturdiest piece of furniture in the house, and its warm age really anchors the space.
view room to room
Garden painting with cubbies for storage underneath
We needed dedicated drawing space, and car run along space, hence the chalkboard corner and long line of cubbies underneath the painting. The cradle is also a hand painted heirloom from their Grandmother, it now holds stuffed animals, and swords, the odd combinations of little boy lives!
Costume cabana, or circus tent!
Both boys love playing dress up. So we created this kid sized dressing station, a little rack, with fence posts for sides based on crates for storage, surrounded by a striped tent. A bonus is that the little corner space behind it is excellent for hiding!
Daybed and Costume Tent
Of course who could do all of that playing without needing a place for a lie down! This daybed is super comfy and soft with large down cushion pillows. It also is a trundle bed, with a roll out pop up from underneath it can become a king sized space for sleepovers!
Choosing colors!
Every single color used in both the boys room and play room was custom mixed. I have a masters in fine art so I can mix like nobody's business! But for those of you who don't want to custom mix your colors, most of these colors have pretty close matches in the Historical color ranges of the Benjamin Moore color wheel.
Real Talk About Renovations!
Renovations are hard. I am going to put a couple of pictures up of the before, and it isn't even going to seem like the same place, because it is not. The space where the playroom is now was originally an unusable and unsafe porch with plastic broken windows and rotten wood. Fixing this space into a usable space required us to fully reframe the side of the house, add central heat and air venting, windows, walls, all of it. There were some major bills, lots of minor nervous breakdowns, disgusting broken nails, scrapes, and paint chips in my eyes. It was a long and stressful process.
The horror show!
Terrifying!
But it was all worth it right?!
During this renovation there were many times I thought it was definitely not worth it, like the days I spent scraping the floor on that porch. Or the days we spent knocking out crack lines on the bedroom ceiling, or the ache in my neck after brushing paint into the cracks of the bead board ceiling on the porch over and over again.
Yes of course it was all worth it!
The first day the boys ran in twirling in wonder at their dreamy room, running and rolling across their astroturf, it was definitely all worth it. It is the best gift in the world to be able to create a space for them that can inspire and delight.
